Administer Database for iHRIS Manage
From Osi
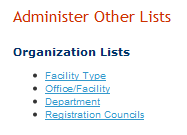
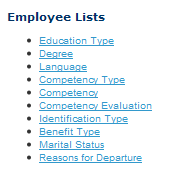
To ensure that standard data types such as marital status, reasons for position changes, facility and department names, and the like are enforced across the system, those standard data types must be created as lists. These lists are used to create selection menus that provide options for selection when adding records, jobs and positions. Click Configure System and then click Administer Database to create and update standard lists of data for selection in system menus. Only the HR Manager and System Administrator can create data types.
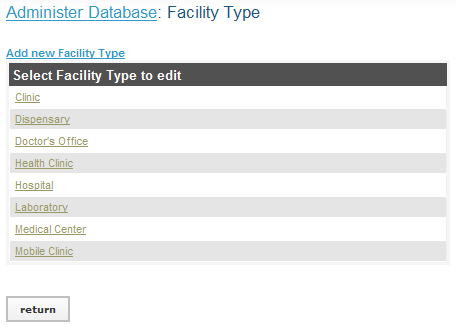
Add a Facility Type
The facility type classifies each office and facility in the organization for reporting and organizational purposes. Examples of facility types include Office, Hospital and Clinic. Specify at least one facility type.
Troubleshooting
An error message appears when Confirm is clicked.
Make certain you have entered a name for the facility type and that it is not the same as a facility type that was already entered. Change the name and try saving again. If you do not want to create the facility type after all, click Return (do not save changes).
Add an Office or Facility
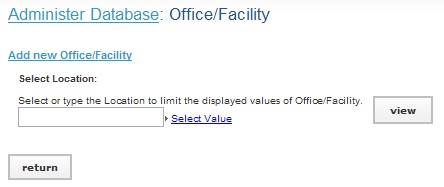
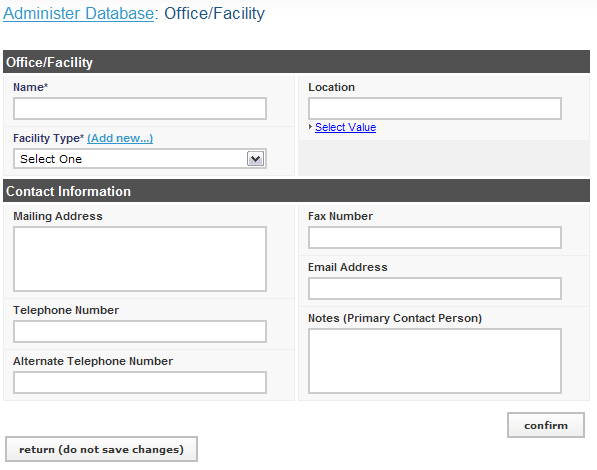
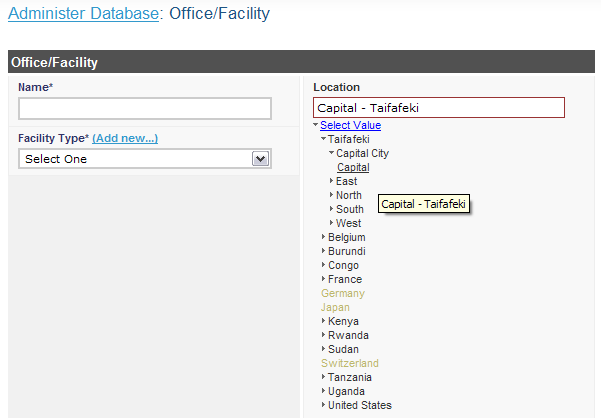
If your organization has multiple offices or facilities, you may add each one to the system in order to link positions to the offices or facilities where they are located. You may also update information about an office or facility if it changes. Enter at least one office or facility, preferably the location of your organization's headquarters.
Troubleshooting
An error message appears when the Confirm button is clicked.
Make sure that all required fields have been completed and that the name of the office or facility has not already been entered. Required fields are outlined in red. Fill in any missing information and try saving again. If you do not want to add the office or facility after all, click Return (do not save changes).
The correct facility type is not available for selection.
Click Add New beside the "Facility Type" menu and enter the name of the facility type. Then click Administer Database and follow the steps above to add the new office or facility. You will have to re-enter any information you previously entered for the office or facility.
The correct country, district or county is not available for selection.
The geographical location needs to be added to the database (see Add geographical areas).
Add a Department
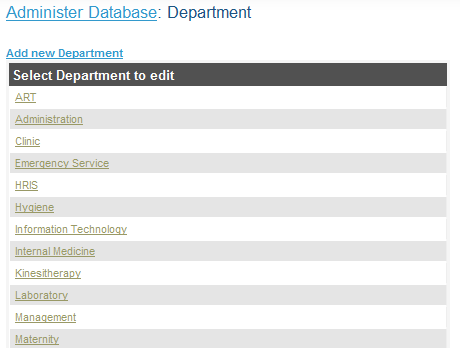
If any part of your organization is structured into departments, you may add them to the system and then link positions to their departments. Examples of departments include Finance, Information Technology and Human Resources. If your organization does not use departments, you may skip this step.
Troubleshooting
An error appears when Confirm is clicked.
Make sure that you have entered a name for the department and that it is not the same as a department that was already entered. Change the name and try saving again. If you do not want to add the department after all, click Return (do not save changes).
Add a Registration Council
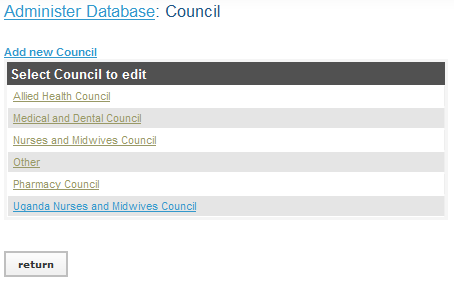
A registration council is the professional association or licensing board that registers health professionals, such as nurses or midwives. If your organization needs to track these registrations or licenses for your employees, enter the name of at least one registration council for selection.
Troubleshooting
An error message appears when Confirm is clicked.
Make certain you have entered a name for the registration council and that it is not the same as a registration council that was already entered. Change the name and try saving again. If you do not want to create the registration council after all, click Return (do not save changes).
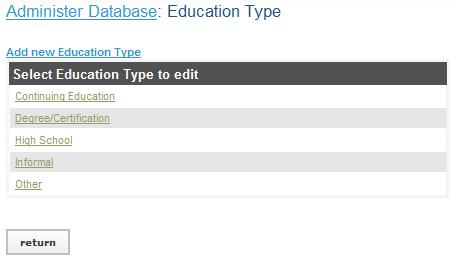
Add an Education Type
The education type classifies a type of educational institution that issues degrees. Education types are selected when entering a person's educational history. Examples of education types include High School, College and University.
Troubleshooting
An error message appears when Confirm is clicked.
Make certain that the education type has not already been entered. Change the name and try saving again. If you do not want to add the education type after all, click Return (do not save changes).
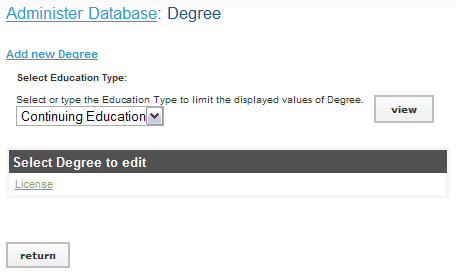
Add a Degree
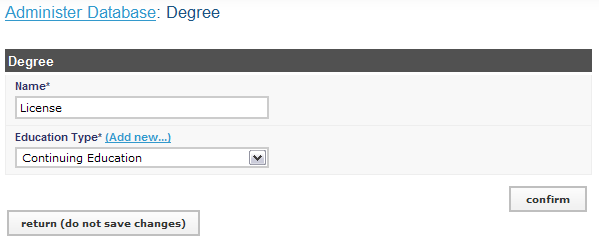
After adding an education type, you will need to add one or more kinds of degrees for that type. The degree will be selected when entering the educational history for a person into the system. Examples of degrees include: diploma for high school; Bachelor's degree for college; and Master's degree or PhD for university.
Troubleshooting
An error message appears after clicking Confirm.
Make sure that the name of the degree has been entered and an education type has been selected -- these fields are required. The required fields will be outlined in red. Also make certain that the degree has not already been entered for that education type; duplicates are not allowed. Complete the missing or incorrect fields and try saving again. If you do not want to add the degree after all, click Return (do not save changes).
The matching education type does not appear in the list.
Click Add New beside the "Education Type" menu to add a new education type. Then click Administer Database and follow the steps above to add the new degree. You will have to re-enter any information you previously entered for the degree.
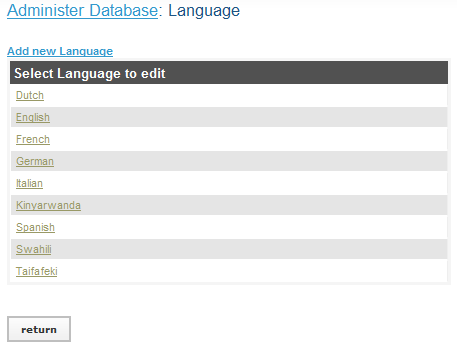
Add a Language
If you want to track employee proficiency in speaking, reading and writing foreign languages, each language must be added to the system to be selected when adding the employee's qualifications.
Troubleshooting
An error message appears when Confirm is clicked.
Make certain that the language has not already been entered. Change the name and try saving again. If you do not want to add the language after all, click Return (do not save changes).
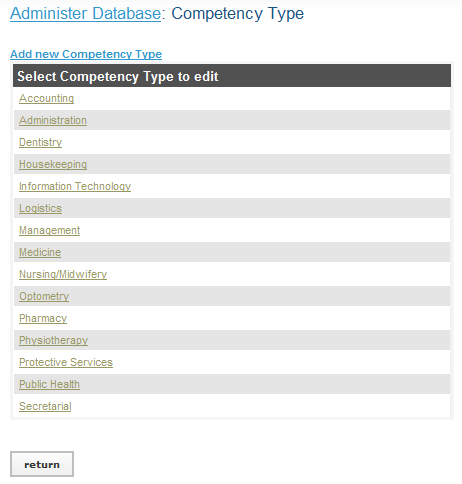
Add a Competency Type
A competency type is a broad category for organizing competencies, or skills in which employees have been assessed as competent. Examples of competency types include Computer Skills, Client Interaction and Diagnostics. Competency types combined with competencies comprise your organization's competency model.
Troubleshooting
An error message appears when Confirm is clicked.
Make certain that the competency type has not already been entered. Change the name and try saving again. If you do not want to add the competency type after all, click Return (do not save changes).
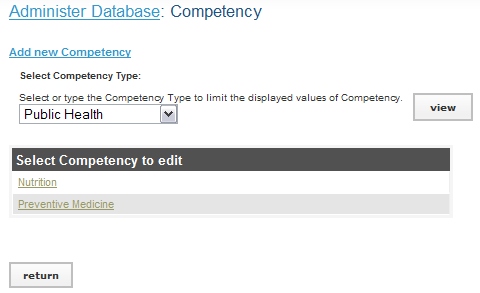
Add a Competency
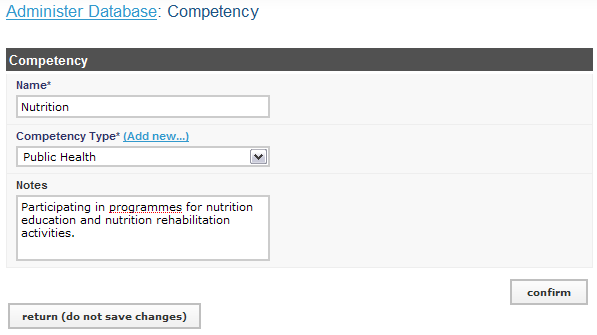
After adding a competency type, add one or more competencies--skills or qualifications in which an employee has been assessed as competent--grouped under that competency type. For example, for the competency type Computer Skills, specific competencies could include Data Entry, Software Use and Document Formatting. The set of competencies and competency types comprise your organization's competency model. When an employee has been assessed as having a particular competency, that competency can be added to the employee's record. Competencies may also be earned by completing training courses.
Troubleshooting
An error message appears when Confirm is clicked.
Make sure that a competency was not already entered for that competency type. Change the name or competency type and try saving again. If you do not want to add the competency after all, click Return (do not save changes).
The correct competency type is not available for selection.
Beside the "Competency Type" menu, click Add New and enter the correct competency type. Then click Administer Database and follow the steps above to add the new competency. You will have to re-enter any information you previously entered for the competency.
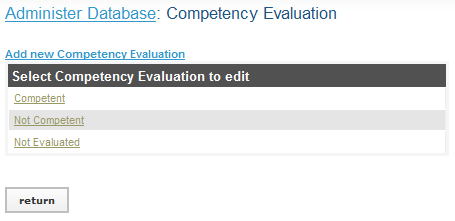
Add a Competency Evaluation
If you want to assess an employee in a particular competency, each evaluation option must be added for selection when making the assessment. For example, you might enter "Competent," "Not Competent" and "Not Assessed" as options to select for the evaluation.
Troubleshooting
An error message appears when Confirm is clicked.
Make certain that the competency evaluation has not already been entered. Change the name and try saving again. If you do not want to add the evaluation option after all, click Return (do not save changes).
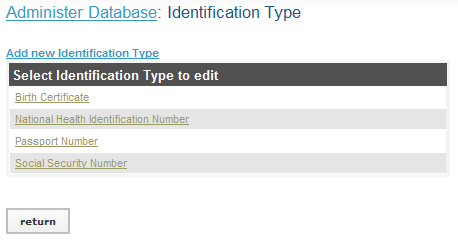
Add an Identification Type
The identification type classifies a type of identification, or non-changing information, used to identify an employee or applicant. Examples of identification types include Passport, Social Security Number and National Health Insurance Card.
Troubleshooting
An error message appears when Confirm is clicked.
Make sure that the identification type has not already been entered. Change the name and try saving again. If you do not want to add the identification type after all, click Return (do not save changes).
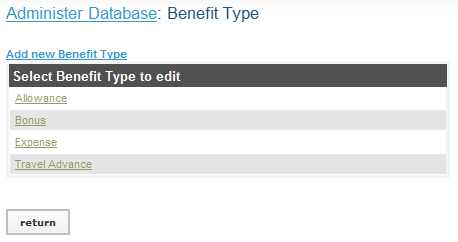
Add a Benefit Type
The benefit type classifies a type of benefit or special payment to an employee. Examples of benefit types include Allowance, Travel Advance and Bonus.
Troubleshooting
An error message appears when Confirm is clicked.
Make sure that the benefit type has not already been entered. Change the name and try saving again. If you do not want to add the benefit type after all, click Return (do not save changes).
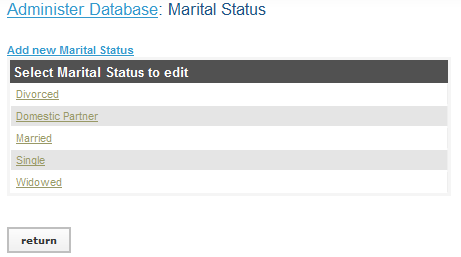
Add a Marital Status
Marital status is used to identify employees' legal status. Examples of marital status include Single, Married, Divorced and Widowed.
Troubleshooting
An error message appears when Confirm is clicked.
Make certain that the marital status has not already been entered. Change the name and try saving again. If you do not want to add the marital status after all, click Return (do not save changes).
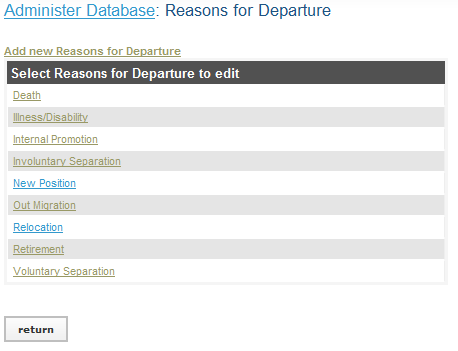
Add a Reason for Departure
Reasons for departure are used to classify the reasons why an employee has left the employment of the organization or changed positions. Examples of reasons for departure include Promotion, Termination, Layoff, Illness, Death and Out Migration.
Troubleshooting
An error message appears when Confirm is clicked.
Make certain that the reason for departure has not already been entered. Change the name and try saving again. If you do not want to add the reason for departure after all, click Return (do not save changes).
